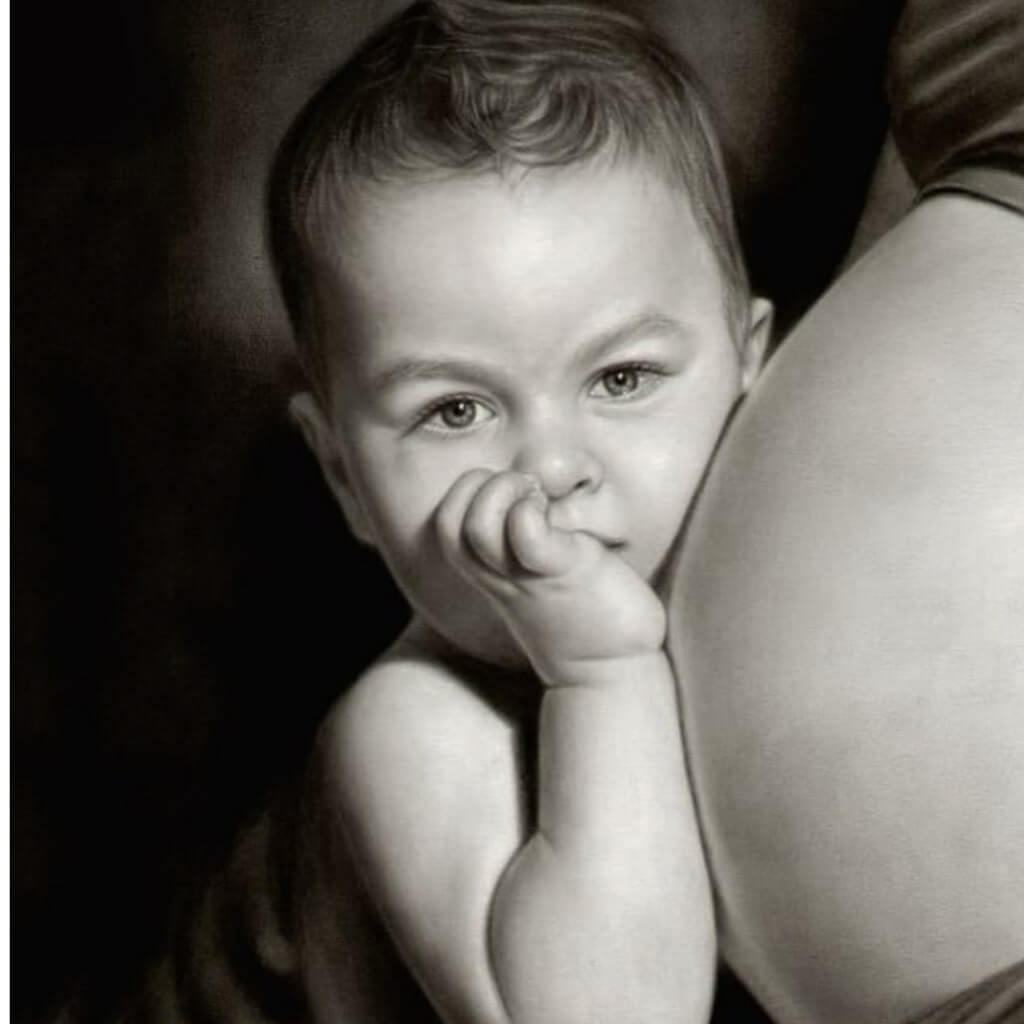
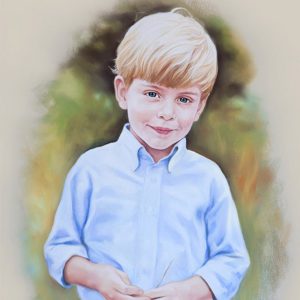
The Ten Steps I Use to Draw Charcoal Drawings From Photo
- Sketch a faint outline using a pencil preferably from the ‘H’ range. (I always start with the eyes and then make the outline of the face while making portraits) You can also use a mechanical pencil. Give light shading and make the outlines darker
- Ensure you don’t apply too much pressure while outlining because charcoal particles don’t settle easily over the parts with the pencil markings.
- Use charcoal pencils to draw lightly over it
- Use an eraser to erase wherever you think you are going wrong.
- Now use a soft charcoal stick to draw the darker tones.
- Be careful while drawing with charcoal as it’s difficult to rub off its marks completely. Have patience and draw lightly. Remember you can always make the shades darker in the next coating
- Blend the shades using soft clothes or smudge them using clean fingers as shown below. Cotton can come in handy too.
- Highlight the parts with reflection/shine/rain etc. using a clean eraser. (Here, the lighter strands of hair and the reflection in the iris are highlighted)
- Carefully add the darkest parts of the sketch. (Like the pupil and the hair in the sketch) Add faint cross-hatching for sharpness wherever you feel the smudged parts are too smooth. (The faint wrinkles in this sketch)
I’m gonna keep this as simple as possible, I also give the sketch I made above just for your reference:
- Sketching, using an HB pencil or H grade pencil. Don’t apply too much pressure, keep it thin.
- Shading, the first layer of shading, uses a 2B pencil then continues with a medium charcoal pencil. This is when you make the mid-tone.
- Highlighting is when you erase certain parts to make sure that the art is alive with the dimension of light/color. I recommend using a pencil eraser like a monograph.
- Darkening, is my favorite part of sketching. Darkening is needed so that people can see the realistic effect of your drawing. If a drawing isn’t dark enough, there’ll be a lack of realism in the art itself.Order your Custom Charcoal Portrait Painting Now
Combine Multiple Photos Into One Portrait
Want to add more characters to the painting from different photos? Done!
All you have to do to add more characters in your painting is to add at least one photo of each character and leave a note explaining the requirement in the notes section.
Replace Background & Minor Changes
Use this feature to add Custom Background or to remove the background from your picture.
All you have to do is add a photo of your desired background while uploading images and leave a note explaining the requirement in the notes section.


Simpkinseod –
YES! My wife has opened her package and she absolutely loves it! She actually cried when she saw it. Thank you so much for your amazing artistry. I have recommended you to two of my friends in Florida.